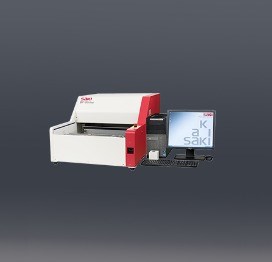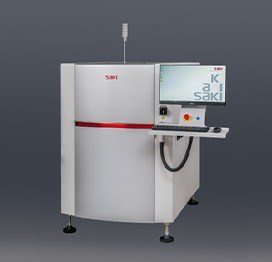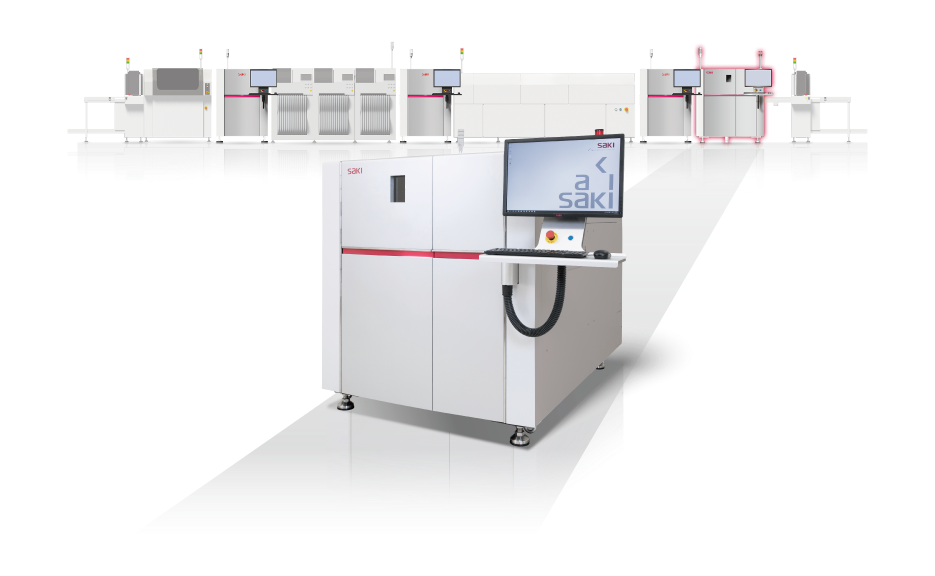
High-Definition Image Captured by Unique Planar CT Technology
Obtaining truly accurate 3D data requires high-definition imaging. Saki's exclusive Planar CT technology and micro-focus X-ray tube (4μm) generate high-definition cross-sectional images with fewer slices. A highly accurate stage controlling system combined with twin-driven motors and high-precision linear scale process the position information of each axis as part of the CT calculation to produce very high-definition cross-sectional imagery. Thanks to the capability of Planar-CT technology, the top and bottom layers of double-sided PCBs are clearly separated allowing for highly accurate inspection that is not impacted by shadows of components mounted on the opposite side.
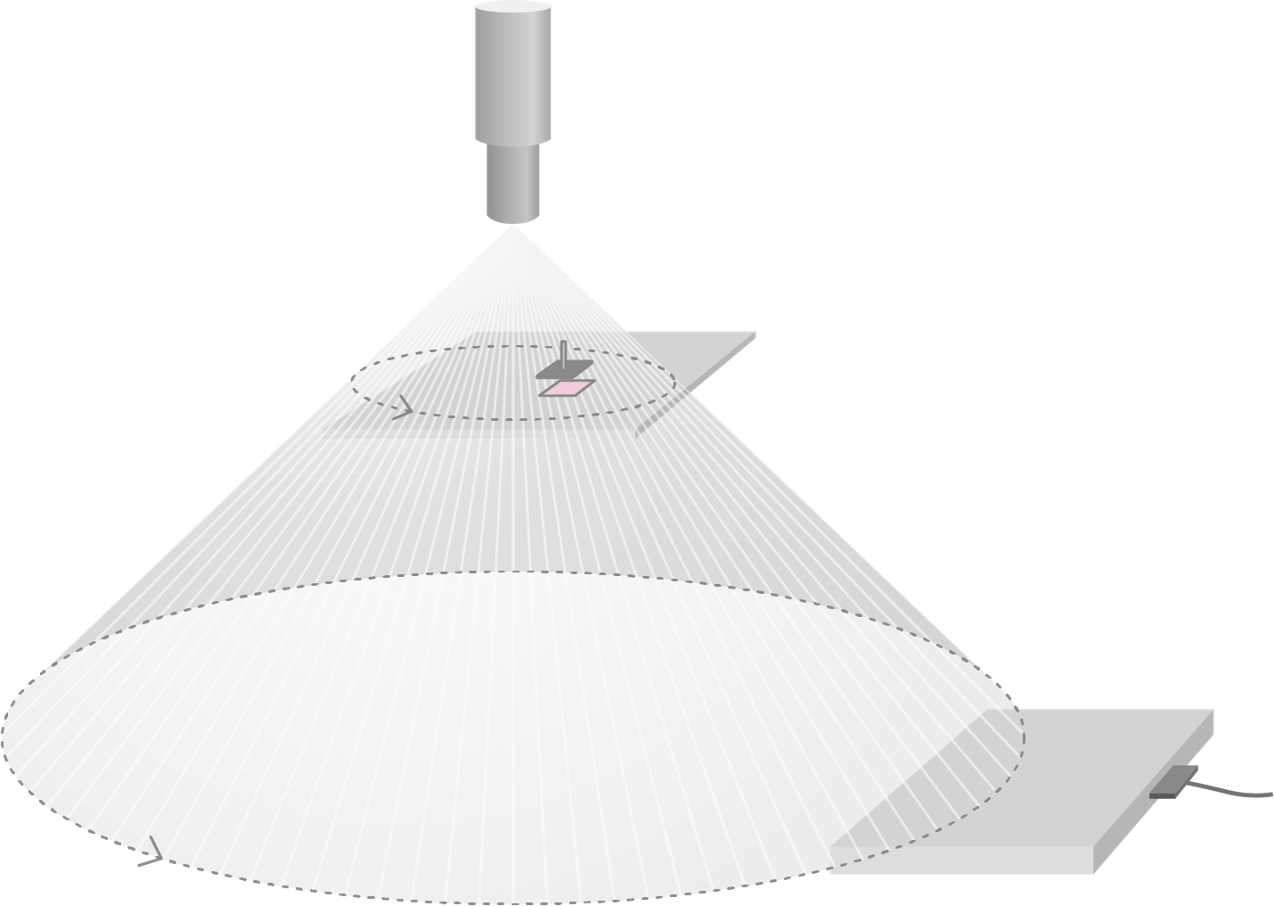
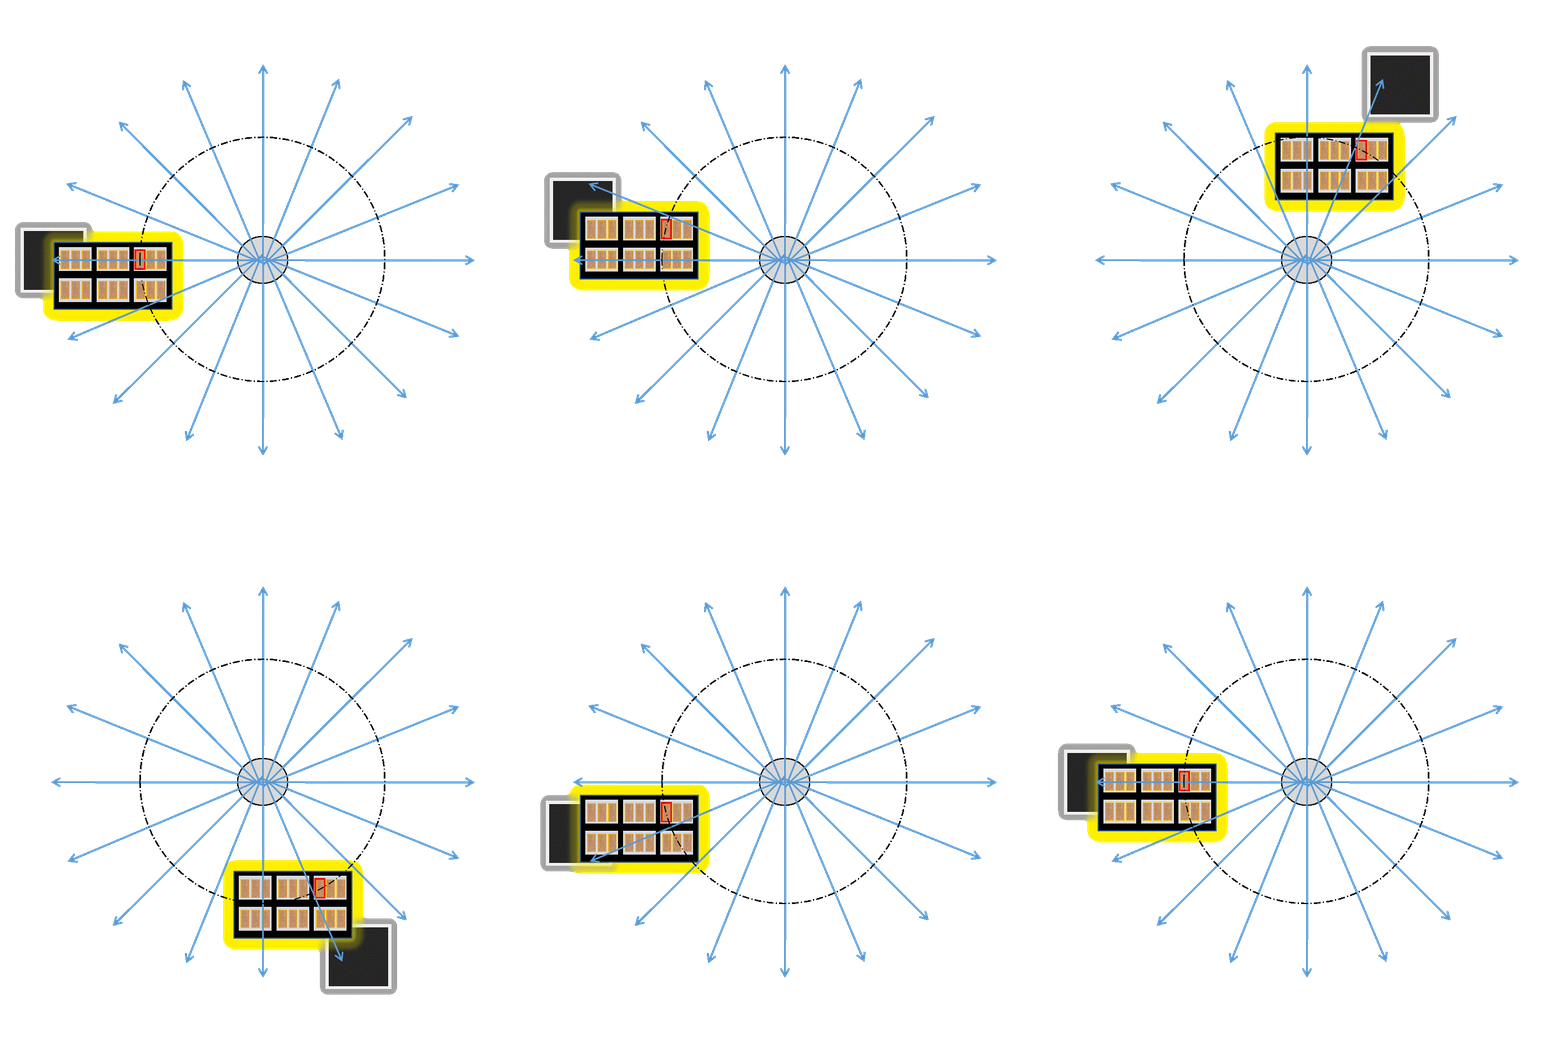
Unique Planar CT capturing method.
High-Speed Capturing to Achieve True-Inline Operation
Increased Planar CT calculation speed.
There is virtually no latency between image capture and image processing speed. Cycle time is approximately twice as fast as the previous model by expanding the field of view with a larger detector and optimizing a unique image process that combines stage controlling with image processing.
High-Detection Capability Powerful Enough to Detect the Most Challenging Defects
Automatic warpage compensation
As a result of automatic warpage compensation to correct distortion not only in X and Y but also in Z direction, programming workload is reduced and inspection accuracy enhanced.
High accuracy inspection
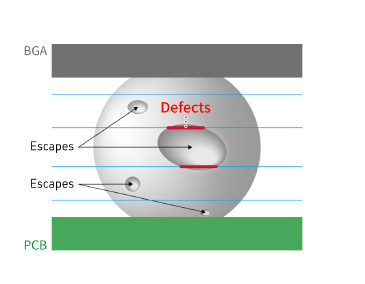
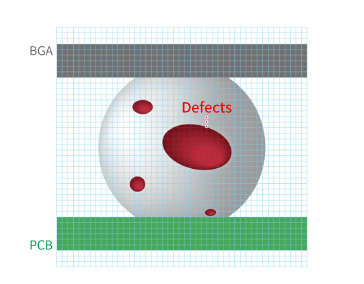
Reconstruction of true 3D volumetric data and Saki's original algorithms make sure to detect challenging defects such as Voids or Head-in-Pillow (HiP). Fully compliant with IPC standards.
 |
|
 |
|
General inspection method
|
|
Saki's inspection method
|
Defect Example
|
BGA Head-in-Pillow
|
|
THT (Through-hole-technology)
|
 |
|
 |
|
Able to distinguish shapes of non-wetting faults such as BGA Head-in-Pillow, which are difficult to detect. Capable of analyzing both void volume ratio and void area ratio.
|
|
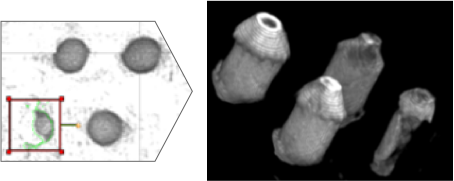
By measuring the amount of solder in through-holes (filling rate), the system reliably detects defects in THT assemblies that conventional tomography inspection systems would overlook.
|
| |
|
|
|
Chip Components
|
|
IC Components
|
 |
|
.png) |
|
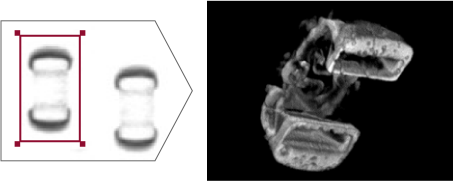
Determines whether a chip component is good or bad based on changes in fillet position, height, width, angle, solder amount. Visualizes the fillet shape of non-wet solder joints.
|
|
Capable of judging whether an IC component is good or bad based on changes in fillet position, height, width, angle, solder quantity. Detects bridge defects when solder crosses between leads. Visualizes the fillet shape of a non-wetting solder joint.
|
Easy Operation Reduces Operator Workload
Advantage of common software platform with AOI
In general, conventional X-ray inspection machines have the notion that programme creation is too complicated. Saki’s X-ray programming process is easy: it works the same way as AOI. By sharing a common platform with other inspection systems, machine operation is standardized and inspection programmes can be easily transferred from AOI to AXI. Utilizing design data or the auto-optimization function for Field of View allocation further reduces programming time.
Reducing library management workload
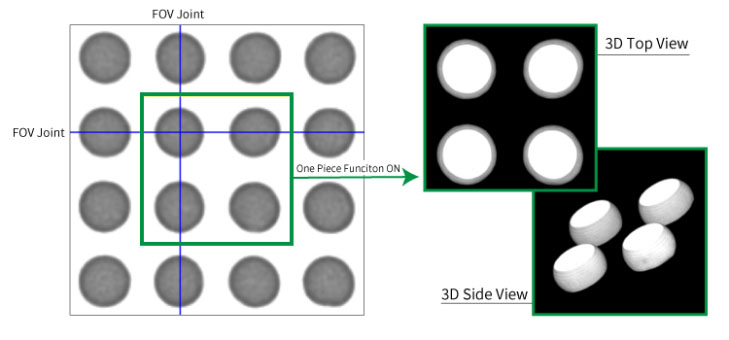
The One Piece function corrects larger component images that cross multiple FOVs in XYZ direction and reconstructs seamless true 3D images. This allows library management as a single component, minimizing library management workload and improving operability efficiency.

Quick tuning function and mechanism to prevent defect escapes
The Offline Debug function improves the inspection library's capability and stores a history of defects or false call pictures in an inspectable format. Library tuning time is significantly reduced and tuning accuracy is maintained.
High maintainability and serviceability
Self-diagnostic feature
The self-diagnostic function of the hardware monitors the machine condition in real time. The function prevents sudden machine down time and allows for planned maintenance and service.
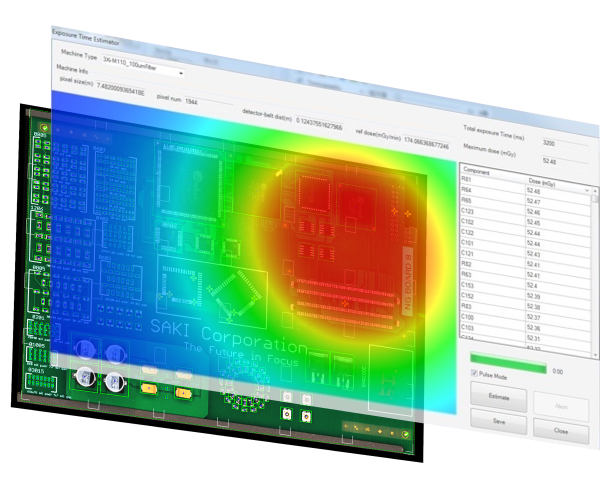
X-ray dosage simulator
The dosage simulator helps optimize capturing condition based on the FOV locations.

Specifications
| Size (W) x (D) x (H) [Main body] mm (in.) |
1380W x 2150D x 1500H mm (54.34W x 84.65D x 59.06H in) |
| Weight |
Approx. 3100 Kg (6834.34 lbs) |
| Electric Power Requirement |
Three Phase ~200V +/-10%, 50/60Hz |
| Resolution |
8μm-38μm |
| X-ray Tube |
110kV 30W, Closed X-ray Source |
| X-ray Leakage |
0.5μSv/h or less |
| Air Requirement |
0.5MPa @ ≥ 20L/min (ANR) |
Target PCB Size
(mm) |
50 W x 120 L - 360 W x 330 L mm
(1.97 W x 4.73 L - 14.17 W x 12.99 L in.)
50 W x 120 L - 360 W x 510 L mm
(1.97 W x 4.72 L - 14.17 W x 20.07 L in.) ※
|
| Clearance |
Top: 60mm (2.36 in.)
Bottom: 40mm (1.57 in.) |
※ 2x imaging option target board size



.png)
