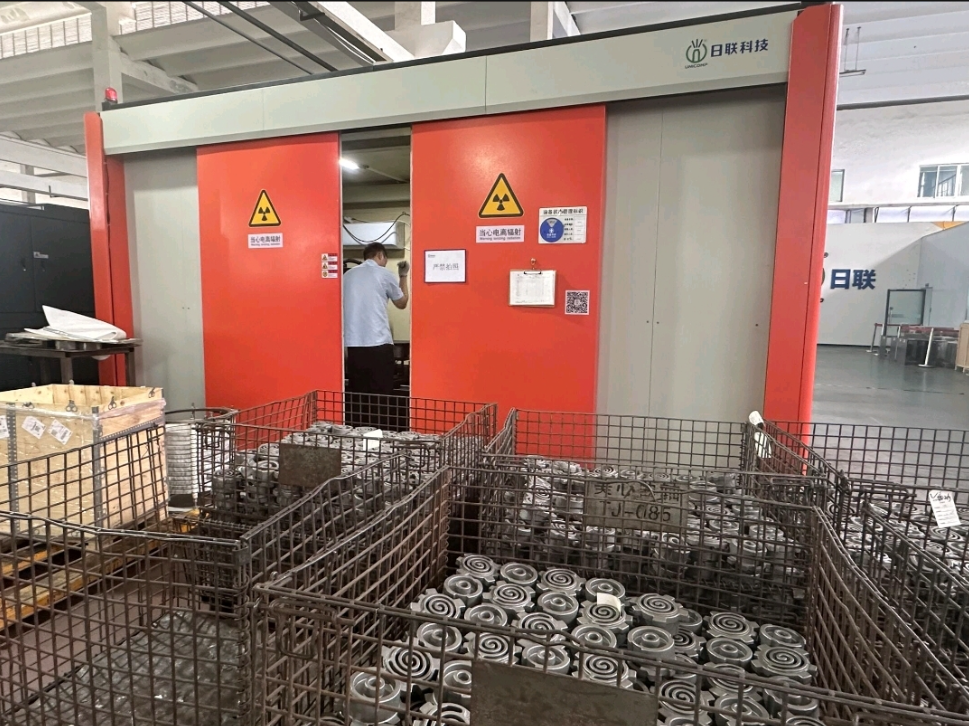
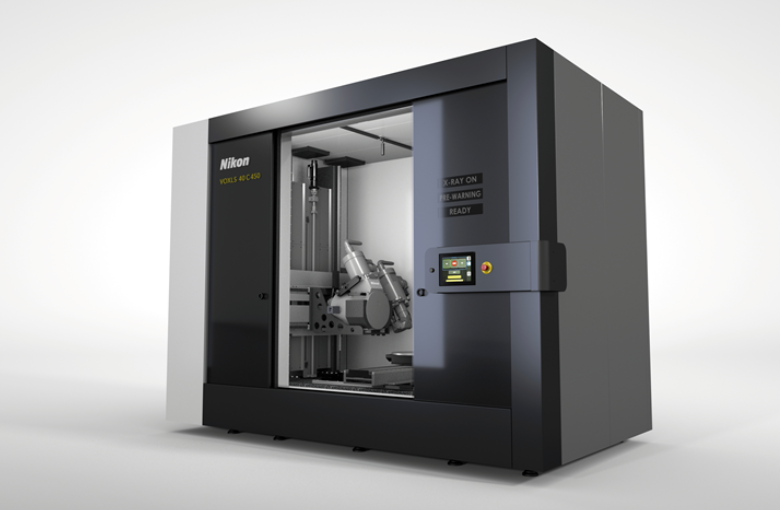
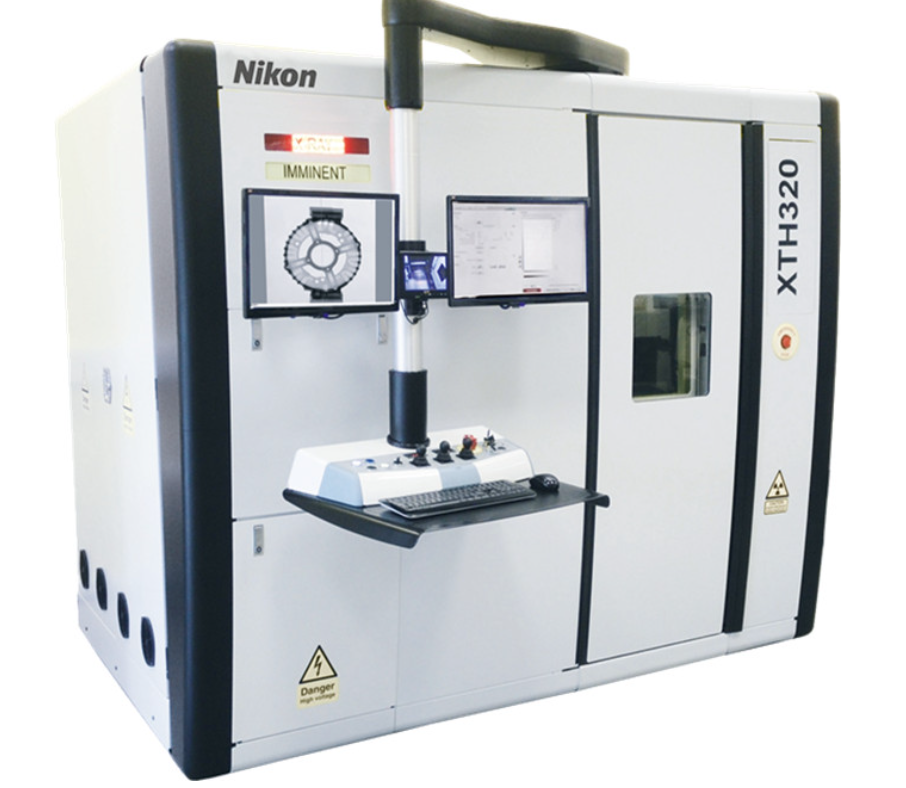
Artificial intelligence has become ubiquitous. Artificial intelligence is now also a topic in computed tomography and is becoming increasingly significant. This is because it enables defect analyses to be carried out even more reliably, accurately and quickly. For industrial components, defects are often located inside the part. An optical inspection process for quality control is then no longer sufficient because it does not provide any indication of internal defects. X-ray inspection allows a close look inside a component and can thus detect defects at an early stage. By using AI in 3D CT and 2D X-ray inspection, a partially automated defect analysis can be realized.
The ZEISS Industrial Quality Solutions, Automated Defect Detection (ZADD) machine learning software, is setting new standards by applying AI to 3D CT and 2D X-ray systems with CT option. ZADD detects, localizes and classifies defects or anomalies/irregularities while analyzing them in detail by reading CT-scans and X-rays.
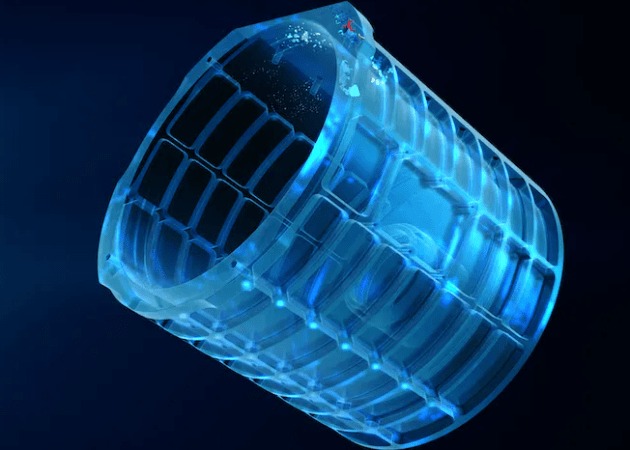
Based on inspection regions, the AI software evaluates whether the defect will pose a problem after further processing steps and whether the component must be rejected as a result. If similar defects occur more frequently in inline operation, this can be detected and thus intervention in the production process can take place at an early stage to reduce scrap and save costs. In atline operation, the ZEISS Automated Defect Detection software is convincing in optimizing and monitoring the casting process and in its use for improved and faster component development.
Reliably Detect Component Defects
During the complex manufacturing process of components, different defects can occur. Especially inside, they are invisible to the naked eye and can have a major impact on the stability and functionality of the component. Artificial intelligence combined with industrial computed tomography or 2D X-ray technology makes these hidden problem areas visible, analyzes them and detects them at an early stage. The ZEISS Automated Defect Detection software specializes in the detection of different defects, so that defects can be detected quickly and reliably even in poor image quality with many artifacts.
Rapid Automated Inline Defect Analysis
.jpg)
In order to be able to sort out defective components at an early stage in a value chain, the 3D data must be evaluated reliably and quickly during an inline inspection. In just 60 seconds, the ZEISS Automated Defect Detection analysis software reliably examines 4 billion voxels (3D pixels) for defects that are only a few voxels in size. Components with critical defects are thus accurately sorted out or, if possible, subjected to rework. Good parts, on the other hand, pass through the further machining process unhindered resulting in a lower reject rate and higher component quality. In this way, manufacturers can achieve a constant increase in efficiency and maximum process reliability with AI in CT.
Reliable Evaluation
If the ZEISS Automated Defect Detection software detects a defect, the software evaluates it in terms of position, shape, size and type. For example, if pores are close to a surface that will be machined in the further process, they may pose a greater risk than elsewhere inside the component. The software is able to predict whether the defect may cause problems in subsequent machining steps. The component is then automatically rejected at an early stage. This saves you time and money. In addition, you can define in the ZEISS Automated Defect Detection software under which criteria a defect still meets the quality standards and when it is classified as critical. With ZEISS Automated Defect Detection, you get a solution that is tailored precisely to your requirements.
Clear Reporting
.jpg)
If the ZEISS Automated Defect Detection software finds a critical defect in inline operation, it creates a report using the ZEISS PiWeb data management software. This gives you the opportunity to view and evaluate defects again afterwards in a 3D view. If your manual inspection leads you to the conclusion that the defect was caused by sand residue, for example, you can easily remove this source of defect and avoid unnecessary scrap. This results in high cost savings. The software also enables results to be displayed in tabular form and output in common formats such as csv.


.jpg)
.jpg)
