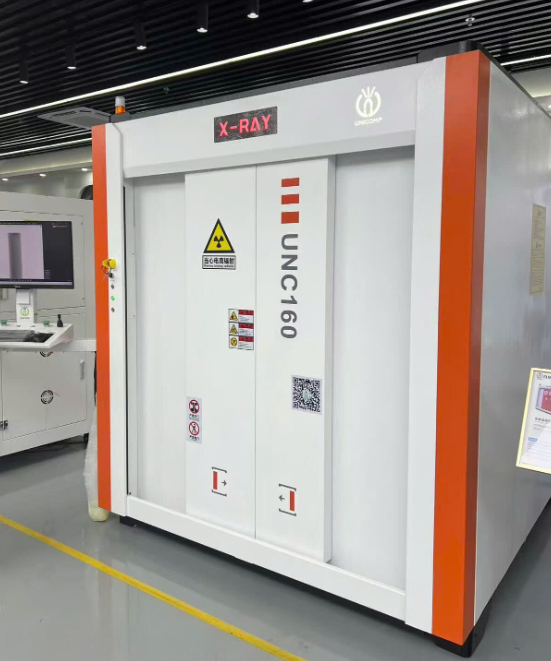
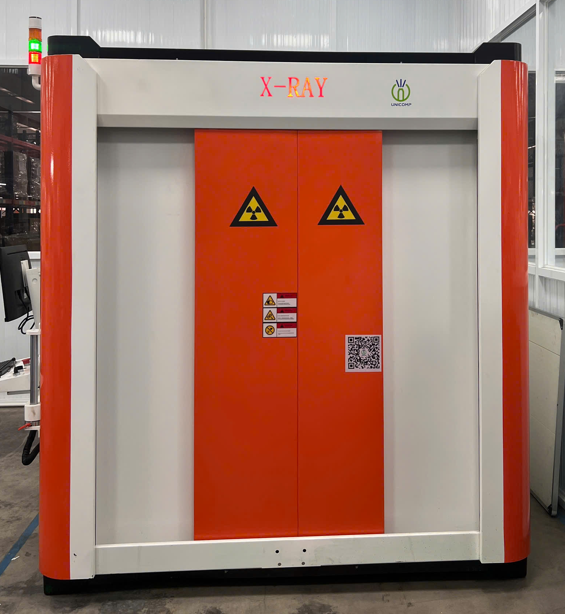
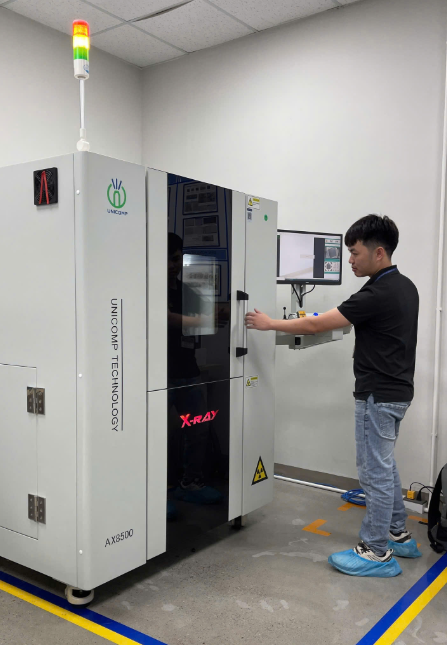
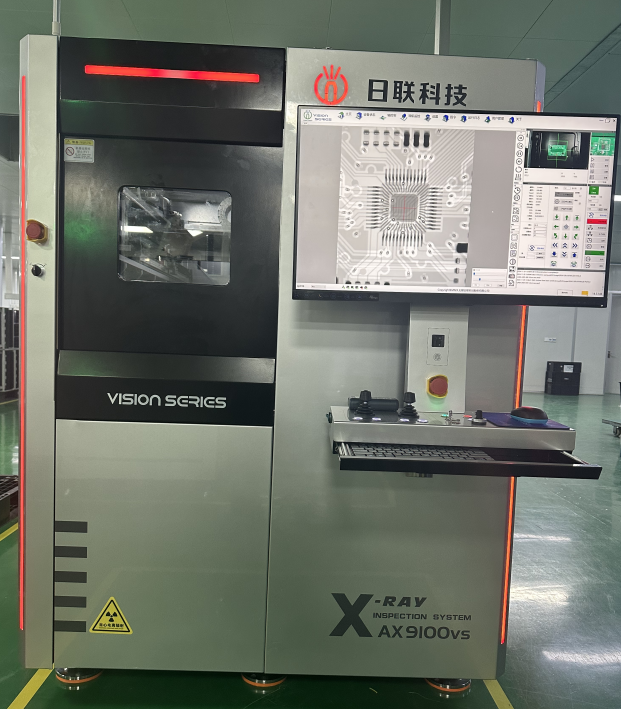
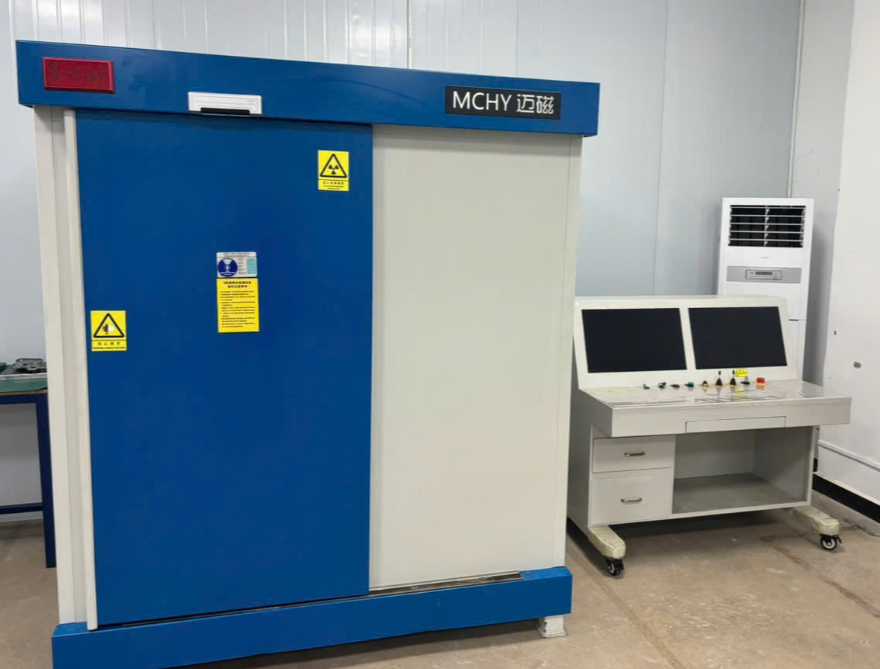
Computed tomography (CT) is the most effective technology for non-destructive testing (NDT). The dataset obtained from a CT scan allows users to examine material samples, observe defects, perform measurements and identify materials with different densities. Engineers, builders, researchers and scientists can therefore discover features that could not previously be examined without destroying the test object.
The data obtained permit the development of new geometries and new materials. A complete specimen framed in a single scan allows us to detect possible defects and dimensions. In the past, these scans and the subsequent processing phases lasted several hours, sometimes even days; with the modern hardware and software systems available today, scans and analyses are available in just a few minutes.
The term tomography consists of the Greek terms tomos (to cut) and graphein (to write), and literally means ‘depiction in sections or layers’. A CT scan generates a series of single or two-dimensional projected images from many different angles. The reconstruction software uses the images to reconstruct and generate the three-dimensional volume of the object to be analyzed. The origins of CT scanning technology date back to the nineteen-seventies. Computerized tomography was developed by two researchers – Godfrey Hounsfield and Allan Cormack – who won the Nobel Prize for physiology or medicine for their research in 1979. CT was initially designed to analyze the human brain, but the fields of application quickly expanded into the industrial and research sectors.
Acquisition and Reconstruction
To generate a CT dataset, a series of two-dimensional x-ray images must be created, usually on a complete 360° rotation. The two dimensional dataset is primarily a sequence of hundreds or thousands of tomograms. A reconstruction algorithm calculates the tomograms, starting from the individual projections obtained. The tomograms are virtual 2D ‘slices’ of a three-dimensional object, in which each shade of gray represents a different density value; the darker the shade of gray, the denser the material of the object. White corresponds to emptiness or air.
Metrology (Comparison of Nominal and Actual Values)
Three-dimensional scans are often used for a comparison of surfaces. CT can provide precise and clear models of surfaces, including internal surfaces and interface, for a non-destructive analysis of internal features and their relationship to the external surface. In particular, it is possible to compare a CT scan with a CAD model, or to compare two scans with each other. Once the datasets have been aligned, the differences between the respective surfaces are typically illustrated by color classes. This function is used for comparison of: – the surface distances of a casting with those of the CAD model to detect changes in shape with respect to the theoretical value – two pieces made at different times from the same mold to evaluate the degree of wear over time – a cast piece with a CAD file to identify pores close
to machining surfaces that could trigger losses and/or leakages.
Metrology (Dimensional Survey of Internal Structures)
CT is often used to collect data for compliance records on individual cavities of multi-molds in plastic injection molding. The same procedure is also indispensable for drawing up the first article inspection report (FAIR) for a given production procedure. For plastic molding, too, CT allows the identification of tool wear simply by scanning pieces produced at different times. Dimensional changes can be obtained and displayed in this way. In recent years, computerized tomography has become a recognized alternative to coordinate measuring instruments as it allows the measurement of internal characteristics without having to destroy the specimen. Modern technical constructions use the GD&T system (Geometric Dimension & Tolerancing) to check the design and engineering tolerances. Standards such as ASME (American Society of Mechanical Engineers) Y14.5 and ISO (International Organization for Standardization) 1101 are framework regulations that are currently applied throughout the industry. High-quality CT datasets allow you to quickly and accurately verify many features, with reports generated by the software.
The software packages available include VGStudio MAX, Geomagic, PolyWorks and any other program capable of processing large STL files (Standard Tesselation Language – a format for interpreting the surface using triangles) or point cloud datasets.
CT metrology offers several advantages:
– Simple repeatability: Measurement templates can easily be applied to different scans of the same part type.
– Homogeneous datasets: CT does not require data fusion or smoothing. Therefore, the surface STL datasets are ‘hermetic’.
– Non-destructive tests allow non-contact measurements directly on the digital reproduction of the detail: any dimensional characteristic can be investigated after generating the volumetric data, even after some time, and even if you no longer have the physical piece.
– Non-contact measurement at the CT volume is particularly valuable for soft materials (such as rubber) since the virtual object does not give way.

