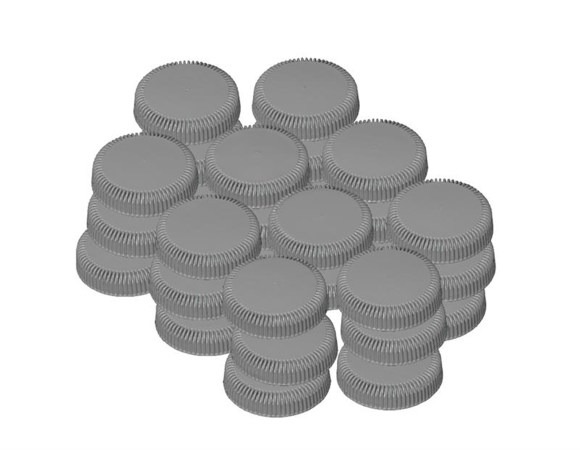
3D metrology service provider, Exact Metrology, recently performed a computed tomography inspection on molded caps to showcase the power and capability of multi-part inspections.
Computed tomography (CT) scanning is an x-ray methodology yielding 3D results by placing an object on a rotational stage between an x-ray tube and an x-ray detector, rotating the object 360 degrees and capturing images at specific intervals. CT scanners can easily scan multiple parts at the same time. To render the 3D x-ray model of the object or part, a series of images is reconstructed. CT visualization software can slice in any direction to produce optimal views and images required for the analysis of internal configuration and instant CAD comparison. This software can segment multiple scanned parts, creating individual files for each component which can be analyzed independently, and all statistics evaluated.

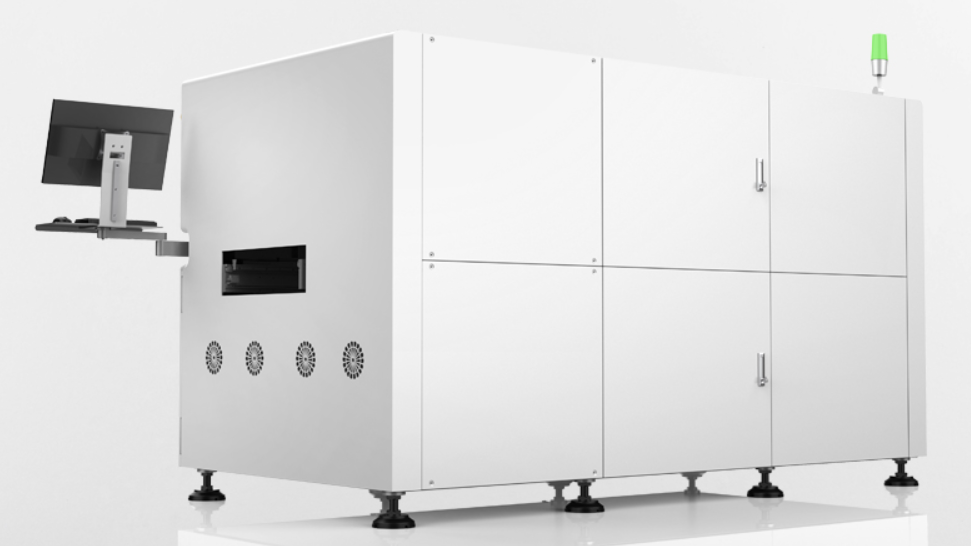
The GOM CT scanner used by Exact enables the inspection of complex parts based on volume. It produces the finest details visible throughout the component, simplifying initial sampling, tool correction and inspection tasks during production. It captures complex components including the ‘inner workings’ in a single scanning process, so that the user receives a complete image of the test specimen for form and position analysis or actual against nominal comparisons.
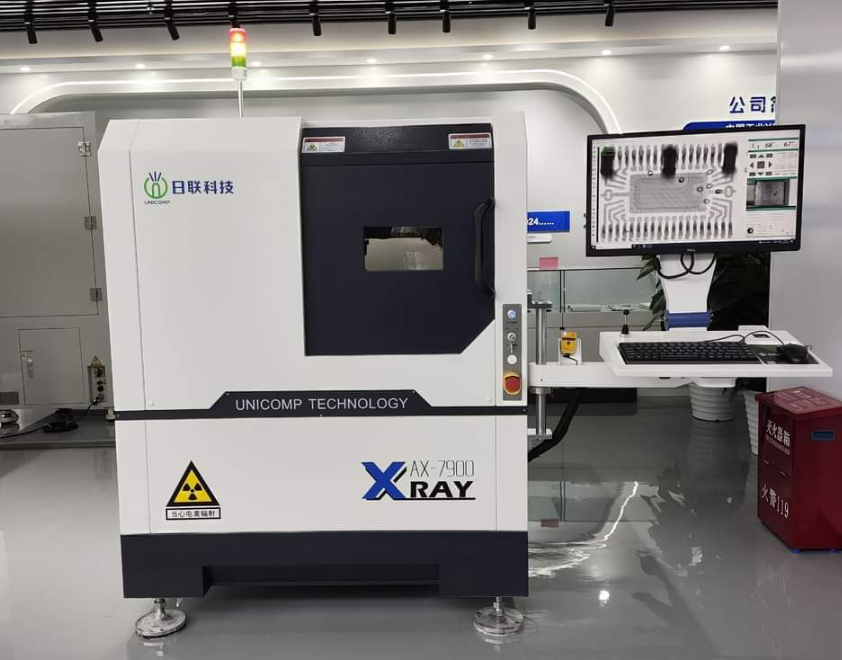
This Exact Metrology scanner features a 225 kV X-ray source and a high-contrast 3k X-ray detector that generates a very fine pixel grid (3008 x 2512 pixels), laying the foundation for high-precision detection of the measured components. 5-axis kinematics with an integrated centering table make it easier for the user to position the component optimally in the measuring volume, so that the measurement is always performed with the best possible resolution. Additional features include temperature balancing for metrology applications and photogrammetric calibration. Within the measuring volume (diameter: 240 mm, height: 400 mm) several objects can be measured simultaneously in one scan, further reducing processing times. Due to the proven GOM technology, the CT ensures high precision and repeatable measurement results. As with all GOM metrology systems, the control of the device, data acquisition and evaluation are combined in a single software package. This means no additional software is required greatly simplifying the chain from recording the raw data to creating the measurement report.
Using both the scanner and the software, 30 individual inspection reports were generated on the injection molded caps. Statistical results compared all measurements. Sean Plastine, Exact Metrology Application Engineer and Greg Groth, Division Manager, at Exact and involved in the measurement process, believe multiple-parts CT inspection offers significant benefit as it reduces the amount of time needed to get results for customers by eliminating the need for measuring 30 parts individually with conventional methods such as CMM, laser or structured light.

