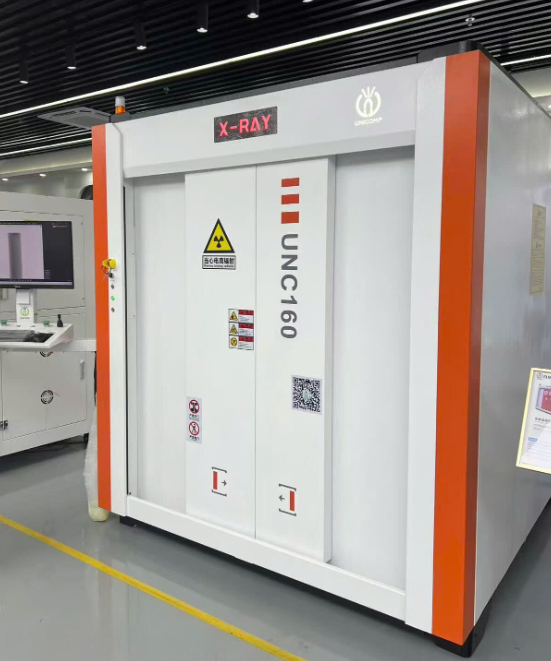
Industrial computed tomography (CT) is increasingly finding its way into coordinate metrology. With this technique, which has so far been established primarily in medicine and non-destructive testing, both the external and internal geometrical features of a component, such as cavities, can be measured contact-free without destroying the object being examined. This offers great opportunities for the development and quality control of products, but the measurements still take a long time and are often too imprecise. Together with European research partners, the Physikalisch-Technische Bundesanstalt (PTB) has therefore developed methods that significantly improve computed tomographic measurements in industry, and above all make them faster and more accurate.
A workpiece, which is only around 5 mm in size, is part of an injection nozzle. The PTB measured it with coordinate measuring technology based on computed tomography. The yellow areas in the above imagerepresent a virtual section through the component.
In recent years, computed tomography has been increasingly used for dimensional measurements of the internal and external geometry of industrial workpieces. But the quality and speed of the measurements still stand in the way of widespread use of the technology. Faster and more accurate techniques are needed, to integrate the measurement of product dimensions and surface features with CT in production lines.
This is where the European research project AdvanCT (Advanced Computed Tomgraphy for dimensional and surface measurements in industry) comes in, which is funded by the EU and coordinated by PTB. In the course of the three-year project, it has been possible to significantly improve both the quality and the speed of the measurements carried out with CT. This includes an increase in accuracy by a factor of 2 to 8 and a reduction in the measurement time to a few minutes. The researchers assume that these advances will significantly expand the applications of CT technology.
The main economic impact of this project could be to strengthen manufacturers of advanced precision parts and systems such as in the automotive and healthcare industries, which require advanced measurement capabilities for quality control and development. Furthermore, the project results can strengthen the market position of the manufacturers of CT systems, which are predominantly located in Europe.
The main focuses of the work of PTB within the AdvanCT project are:
– The he development of better methods for calibrating CT systems in order to increase the accuracy of CT measurements
– The correction of measurement errors caused by effects in the X-ray source and in the detector
– Improved methods for measuring freeform and multi-material objects as well
– An improved estimation of the measurement uncertainty

