Enabling deep insights
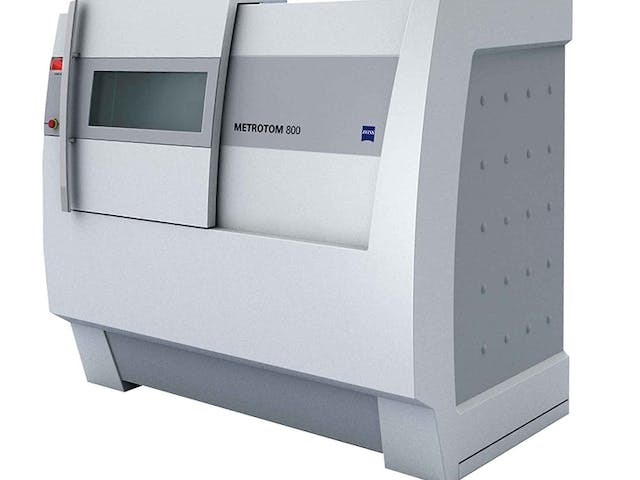
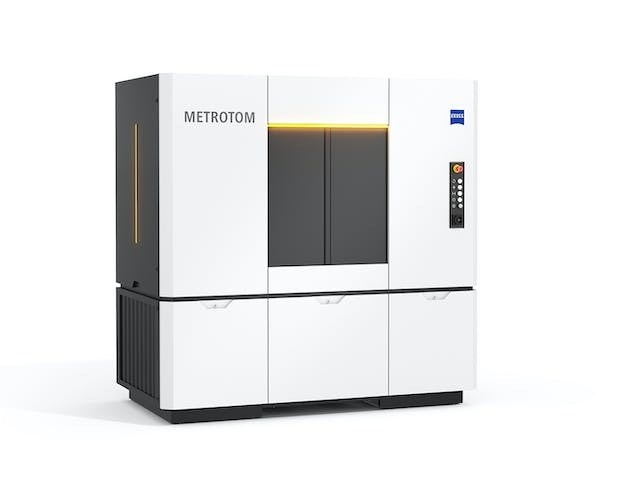
ZEISS METROTOM 6 scout
Non-destructive measurements and inspections
ZEISS METROTOM 6 scout (GOM CT) shows its strengths above all in the inspection of plastic parts. High-resolution images can be captured for precise measuring tasks or detailed inspections of internal structures. Be it shrinkage holes, pores, cracks, sink marks or warpage – all defects or deviations from the CAD model can be detected. Non-destructively!
Fast tool correction
When manufacturing plastic parts, many iteration loops are often necessary until the tools are correctly set-up or corrected. This process can be shortened by 30 - 70% thanks to computed tomography and the ZEISS REVERSE ENGINEERING software. To do this, volume data is first acquired with ZEISS METROTOM 6 scout. This comprehensive 3D data set can then be used in the software to convert deviations from the CAD model directly into a corrected tool shape.
With high resolution to accurate measurement results
You need to measure your parts accurately or find the smallest defects on the inside? With ZEISS METROTOM 6 scout this is no problem at all. Thanks to the system’s high accuracy and resolution, you can generate accurate and detailed measurement and inspection results.
Measure accurately.png)
With ZEISS METROTOM 6 scout, reliable, highly
accurate evaluations of part quality can be
made on the basis of the measurement results.
Additionally, you can carry out further analyses
such as dimensional analyses, as well as wall
thickness analyses or target/actual comparisons.
See every detail
The combination of a 3k detector and 225
kV X-ray source enables ZEISS METROTOM 6
scout to provide high-contrast, high-resolution
measurement results and exceptional sharpness
of detail. As a result, even the smallest defects
in the part become visible and can be analyzed
down to the last detail.
Easy to use
ZEISS METROTOM 6 scout.png)
A 5-axis kinematics with integrated centering table helps
you to optimally position the part in the measuring volume.
You simply place it in the machine’s measuring room – the
rest is done by the software. In addition to simplified device
operation, this guarantees that each part is measured in the
best possible measuring position and, thus, always with the
highest possible resolution. Moreover, you save valuable time
for the usually time-consuming alignment process
of the part in the X-ray beam.
All-in-one software
GOM Volume Inspect.png)
The control of the device and the metrological evaluation
of the data are combined in a single software package,
making additional software or intermediate steps redundant.
The process chain from the recording of the raw data
through the inspection up to the creation of a measuring
report is significantly simplified with GOM Volume Inspect.
The detected defects can be analyzed in detail and
automatically evaluated according to various criteria. In
addition, you can load volume data of several components
into a project, perform a trend analysis and compare the
data with the CAD model.

.png)
.png)
.png)
