Metal casting in its many forms has been around for thousands of years, but it is by no means outdated. Steady improvements to the casting process itself and to the materials used have made sure that there still is really no match when it comes to reliably producing large numbers of complexly shaped metal parts.

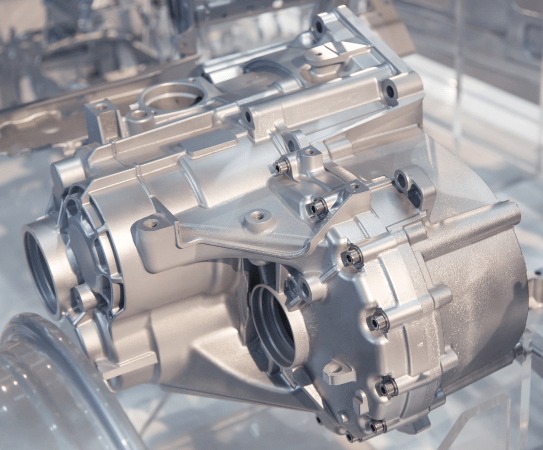
Casting today can cover the complete range from the truly large to the very small, heavy to lightweight, and from solid parts to ones utilizing complex internal structures. This, combined with a speed that makes it suitable for mass production, has led to widespread adoption. Prominent examples include the automotive sector, where it is used for powertrain and increasingly also for structural components, and aerospace, where turbine blades are a common application.
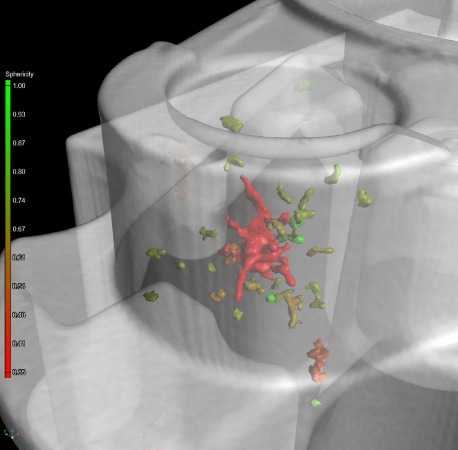
Many issues that affect casting quality are inherent to the casting process itself. Voids can form during cooling due to changes in the volume of the material. Depending on the speed of the cooling, gas that is part of the melt may become trapped in the part and cause porosity. Inclusions can be introduced due to core or mold material coming loose or chemical byproducts caused by reactions with the coating of the form. The geometry of the part itself may also be adversely affected by cooling effects, leading to shrinkage, warpage and tears and cracks in the material. Form coating may accumulate, leading to changing dimensions over time.
Often it is not possible to avoid these casting defects altogether—but they can be controlled to prevent them from occurring in locations critical to a part’s functionality. Speed and entry point of the melt can be altered to change the location where porosity occurs, and cooling behavior that has an effect on warpage and shrinkage can be changed by controlling the temperature of the mold or by changing environmental conditions. Once a good equilibrium has been found, it is important to continuously observe the process and the produced parts. Changes in quality caused by wear, subtle material differences, or environmental influences need to be detected early on. Countermeasures can then be taken before actually unusable parts are produced that become scrap.
Many inspection methods like ultrasound, tactile measurement, or 2D radiography are only able to highlight some of these issues. Computed tomography (CT) data, on the other hand, can provide a comprehensive view of the part, due to its ability to accurately represent both surfaces and inner structures. And while at the start of a production process simulations may provide some advance knowledge, in the end testing and inspection of the physical part are a must.
Comprehensive Inspection of Geometry and Porosity

CT scans generate a wealth of data about individual parts, which must be made sense of. Volume Graphics VGSTUDIO MAX with the ‘Cast & Mold’ package provides the right tools for the job. The package contains everything that is necessary for CT-based quality assurance across the life cycle of cast components. Widely used functionalities for defect detection, wall thickness analysis, and nominal/actual comparison allow reliable detection of casting defects like porosity, inclusions, and shrinkage as well as warpage.
The included Coordinate Measurement Module allows the fitting of geometry elements and the creation of geometric dimensions and tolerances, providing all of the functionality of a physical coordinate measurement machine and beyond. Optionally, P201 and P202 analyses as used in the automotive industry are also available.
Advanced visualization options and customizable reporting enable the creation of easy-to-digest first article inspections at the start of a part’s production. Re-usable analysis and measurement plans allow the creation of reproducible and comparable results for different scans and parts at any time of a product’s lifecycle.
All of this can be seamlessly transitioned from a manual to a semi- or a fully automated quality control process. The automated process can be connected to auxiliary systems including statistics, ERP, and MES software via standard file formats.

